


Prepare The Surface
- Clean the surface where the moulding will be attached. If removing old caulk, use a putty knife or scraper.
- Sand the surface smooth to create an even area for measuring and attaching the moulding.
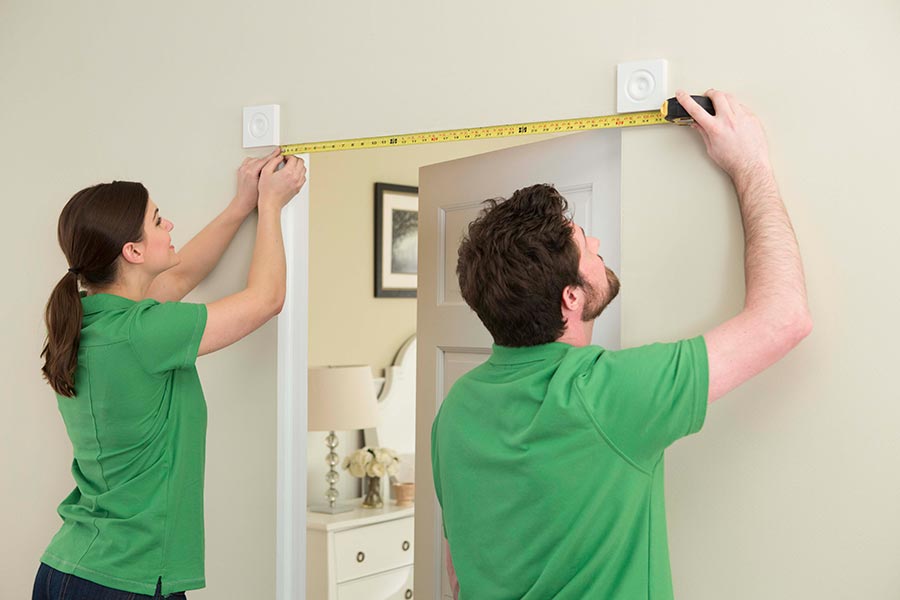
Estimate The Pieces Needed
- Using a tape measure, measure the dimensions for the area where you plan to attach moulding, and add up the total number of feet.
- Take this number and divide by the length of the moulding you are going to use.
- Round up to the next whole number for the minimum total number of moulding pieces you will need.
- As a rule of thumb, add 10% to 20% more to your total measurement to account for cut pieces and mistakes.
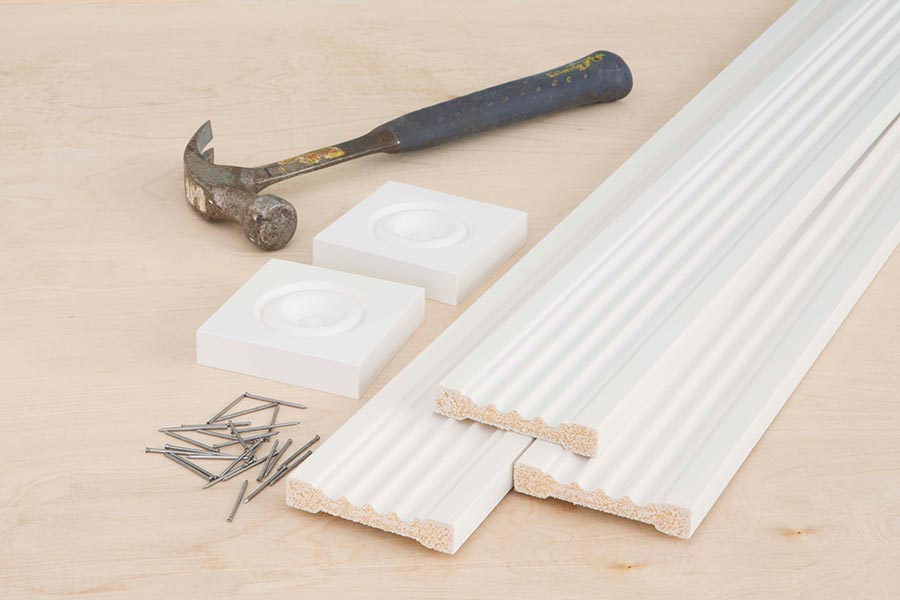
Buying Moulding Tools and Material
- Use your measurements to determine the needed amount of moulding.
- Pick up the tools you need from the list below
Measure and Mark The Area
- Measure the outermost edges of the project area. If your design requires miter cuts, this measurement will ultimately be the longest point of your mitered pieces.
- When cutting miters, start the angled cut on one end of a moulding piece.
- Measure from the long point of the miter, and mark the desired length on the opposite end of the moulding piece.
- To help with miters, use a combination square or speed square to mark the mitered line.
Cutting The Moulding Pieces
- On a miter saw, position the blade on the waste side of the marked line on the moulding piece. Position the piece so that the marked line is 1/16 to 1/8 inch away from the blade.
- Clamp the moulding piece in place, and make the cut.
- Follow the same procedure to use a handsaw with a miter box. Position the marked line 1/16 to 1/8 inch away from the cutting guide slot on the miter box.