


How To Install Prefinished Moulding
1. Determine the height placement on the wall for chair rails or caps, if you’re using them. Once you’ve determined this measurement, use a level and a pencil to trace a line around the room as a guide for installation.
2. Begin from any corner in the room and nail in place. All Prefinished Moulding can be nailed without pre-drilling. If you have one available, a power nail gun set at 95 PSI or less, can speed up your project.
3.Drive nails to within ¼” of the surface of the moulding to prevent scarring the moulding face. With the appropriate sized nail set, drive all nails below the surface of the moulding.
4.All joints and splices may be filled with caulk, if desired. On crown mouldings it is helpful to add a bead of caulk along the ceiling and wall edges to hide imperfections.
How To Finish Prefinished Moulding
1.Since our moulding is prefinished, simply touch-up nail holes and joints with a color coordinated putty, caulk or spackling. Shoe polish, latex stain, a felt marker or crayons can also be used. Avoid wood fillers that contain solvents harmful to the moulding’s finish.
2. If you need to coordinate with existing moulding in your home, Crystal White moulding’s finish will accept other coatings, so you can simply use your favorite high quality interior latex paint.
Tools Required
Only a few basic tools are needed to complete any moulding project:
- Pencil
- Taper measure
- Safety glasses
- Hammer
- Miter box
- Sandpaper or hand file
- Color matched putty, caulk or spackling
- Fine-tooth backsaw or miter saw
- Finishing nails (4d or 6d recommended)
- Nail set (to punch nail heads below the moulding surface
For larger projects, the following tools would be helpful though not essential for installation:
- Power miter saw (sharp fine toothe blade)
- Coping saw
- Power nail gun (95 psi or less)
- Caulk gun
Purchase The Right Amount of Moulding
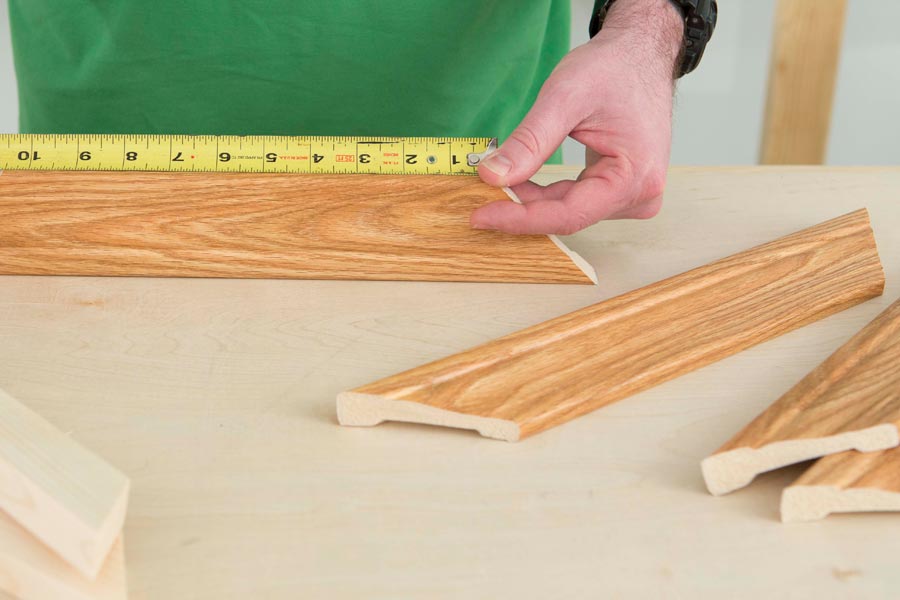
First, you need to determine where the moulding will be used and then estimate the quantity and type. Go around the room, making a list of the specific lengths you’ll need.
When all the measurements are totaled, add ten percent to that number for cutting and waste. Divide your measurement total by the length of the moulding you’re using to determine the number of pieces needed.
See the example below:
| Wall A: | 13 feet 3 inches | |
| Wall B: | 12 feet 6 inches | |
| Wall C: | 6 feet 2 inches | 4 feet 3 inches |
| Wall D: | 7 feet 1 inches | 2 feet 3 inches |
| Total = | 45 feet 6 inches | |
| Plus 10% | = 50 feet |
Now divide your measurement by the total length of the moulding being purchased. For example: 50 feet/8 feet = 6.25, so purchase seven 8-foot pieces of moulding
Handling
Once you bring your moulding home, acclimate it to room temperature for 24 hours prior to installation.
Follow These Steps For A Better Cut
Miter Joints
Most moulding joints are cut at 45-degree angles. To create a tight joint, be sure each piece is being cut in the correct direction, at opposite angles. For the best results, cut into the finished face of the moulding using a power miter saw and a short chop stroke to cut the moulding.
Crown Moulding
For inside and outside corners, position the moulding upside down and face up in the miter box. You will be placing the moulding so the ceiling-side will be flat against the bottom of the miter box and the wall-side will be flat against the vertical back fence.
Coping
Use this method for a perfect fit between moulding sections that meet at inside corners. Install the first piece so that the end is tightly butted into the corner. Placing the moulding in the miter box, as described by moulding type, miter the second piece. Clamp that piece on a table or bench with the mitered end free. Holding the coping saw with a slight inward angle, carefully trim the mitered edge following the moulding profile. Smooth cut edge with sandpaper or file, run a bead of adhesive to cut surface and install moulding with coped edge butted firmly against the first piece.
Door and Window Casing
Position these types of mouldings on the bottom, face up, in the miter box. For a door or window casing, use the exact measurement from corner to corner and add 1/8-inch to ¼-inch to allow for a reveal between the jamb and the casing.
Chair Rail and Baseboard
Place the moulding as you would on the wall, with the flat side against the back of the miter box, then cut using the appropriate angled slots, for an inside or outside corner to the guide saw.
Splicing
To span longer lengths, you may have to splice mouldings. The two pieces will overlap each other, to create a vertical seam. Placing the moulding with the flat side against the back of the miter box, cut using the appropriate angled slots for an inside or outside corner to guide the saw. It is advisable to join moulding pieces over a wall stud for additional strength and to prevent joint movement.