Key Cabinet
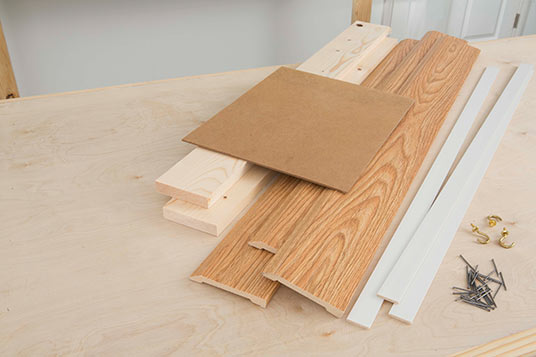
Materials you’ll need
-
One 8’ length of Base 620 Majestic Oak*
- One 8’ length of Lattice 267 Crystal White
- One 6’ length of 1”x4” finished pine wood stock
- 11”x14” piece of thin plywood or Masonite**
- 3 cup-holder screw hooks
- Finishing nails
- Black latex paint
- Chalkboard paint
- Color-matched oak painter’s putty
* We used Majestic Oak for this project but you can use any color finish you choose.
** Or cut to size for your particular project.
Getting started
-
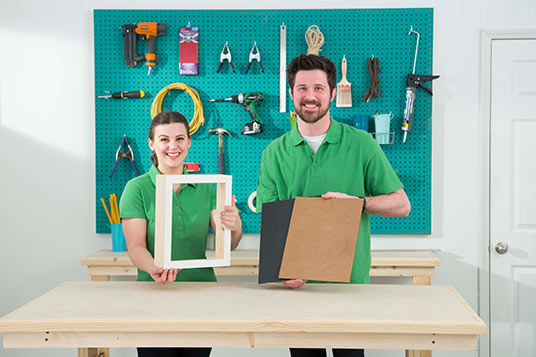
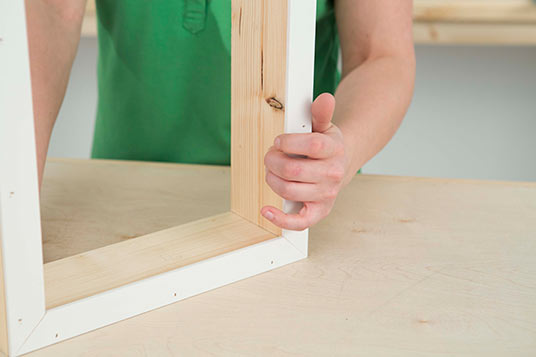
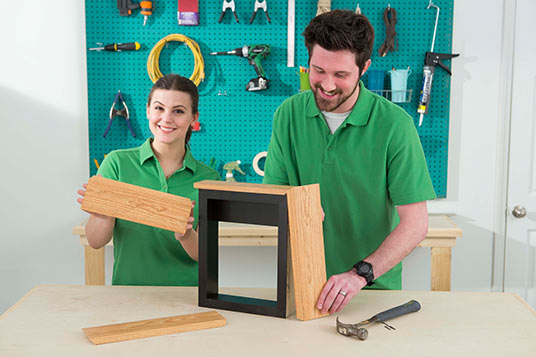
Cut pieces of pine wood stock and build a simple open box.
- Our box has an outside dimension of 11”x14”, but it could be any size to fit your space.
-
Cut to size and insert a piece of wood in one end of the box opening and attach with finishing nails. This piece of wood should be attached flush to the back of the cabinet — this is where the key hooks will hang.
Lattice
-
Miter cut four pieces of Lattice so it creates a frame which is flush to the outside dimension of the box, and attach to the front edge.
The lattice moulding will serve a critical purpose— it’s a lip to prevent your stuff from falling onto the floor.
Remember, we’re trying to keep everything in one place with this project!
Painting
-
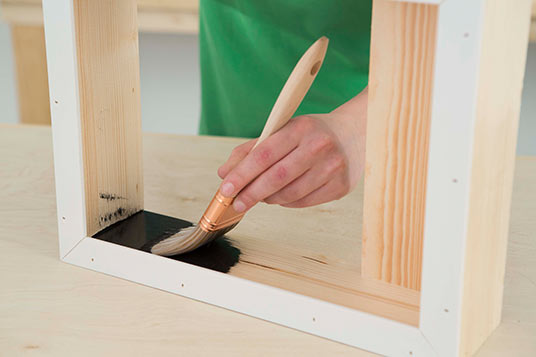
Paint this assembly with black latex paint and let dry.
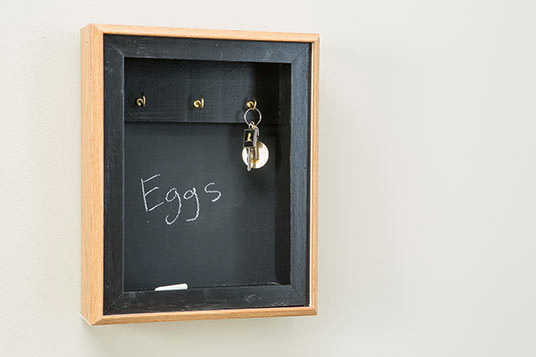
- Use chalkboard paint to paint one side of an 11”x14” piece of plywood or Masonite for the cabinet back and set aside to dry.
-
Once these two pieces are dry, attach the Masonite back with the chalkboard-painted side showing towards the front of the cabinet. Make sure the outside dimensions of the back are flush with the outer dimension of the painted wooden box.
Base Moulding & Final Assembly
-
Carefully measure and miter-cut four pieces of prefinished Base Moulding and attach to the outside of the wooden box using finishing nails.
-
Fill the nail holes and mitered corners with a little color-matched painter’s putty and screw in some cup holder screw hooks.
