Kid’s Art Storage Frame
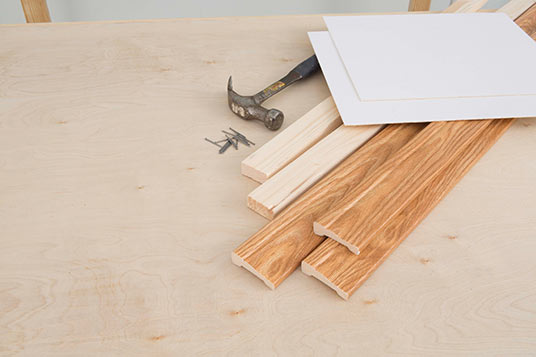
Materials you’ll need
-
One 8’ piece of Casing 356 Majestic Oak*
- 6’ length of 1”x3” finished pine wood stock
- 13.5”x16” piece of white matboard
-
2 picture hangers
- Finishing nails
* We used Majestic Oak for this project but you can use any color finish you choose.
Getting started
-
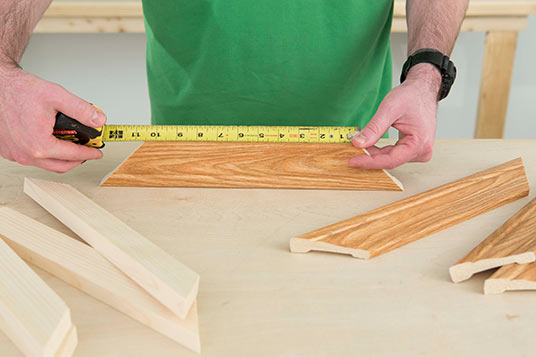
Cut the pieces of the Casing to make a simple frame with mitered corners that leave an opening of precisely 8”x10.5”.
Framing
-
Build a simple frame with the 1”x3” wood stock that has an inside dimension of precisely 8.75”x11.25” and join the corners.
Painting
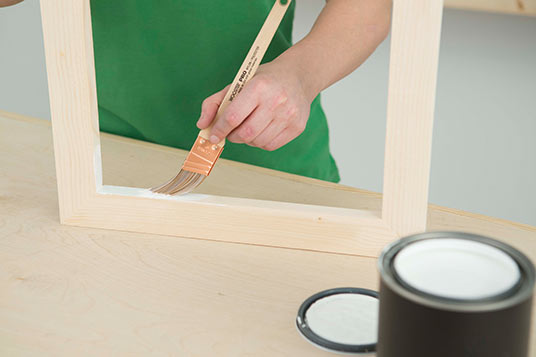
- Paint the inside and outside edges of the wood frame white. No need to paint the other surfaces because they will be covered up.
- Attach a piece of white matboard to the back of the wood frame.
Assemble
-
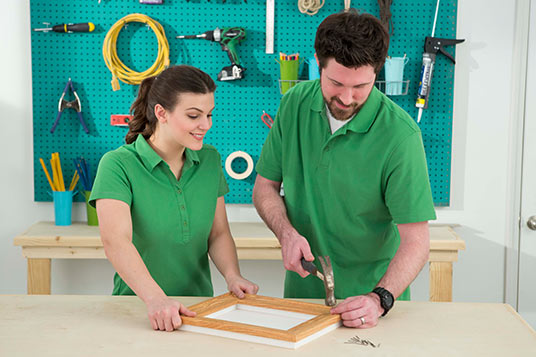
Perfectly center the pre-cut pieces of Casing onto the wood frame and attach with short finishing nails or contractor’s adhesive.
-
Attach picture hangers centered on both a short and long side of the frame back.
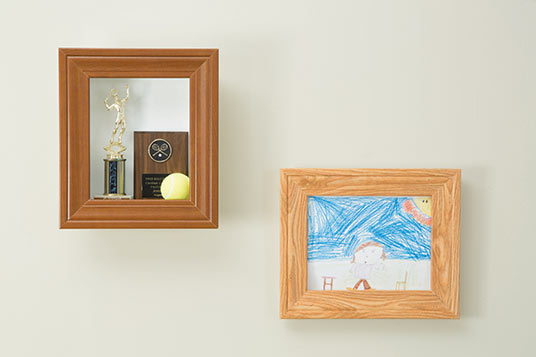
Hang your Picture Frame on the wall!
Since the opening of the frame is 8”x10.5”, you can simply push an 8.5”x11” sheet into the opening and it will stay in place. And because you have attached hanging hardware on both the long and short sides of the frame, you can display both horizontal and vertical art.
You can store up to 100 sheets of standard printer paper in it, so you’ll always know where those precious creations are!
And here’s a bonus tip — you can use the same plan to make a shadow box frame just by using a wider piece of wood stock.