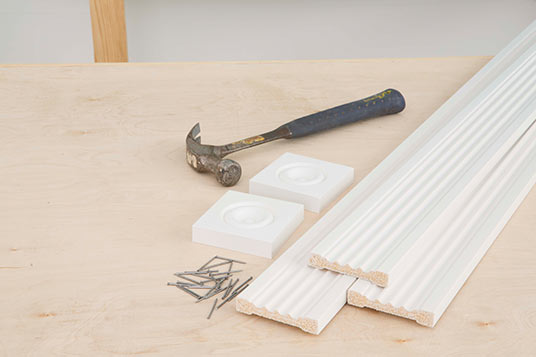
Installing Door Trim Kit
Our Standard Kit comes with Fluted Casing and two Corner Blocks. The Premium kit comes with two additional Plinth Blocks to give the frame a solid base look.
Each kit is easy to install and requires no miter-cuts.
Materials you’ll need
- Door Trim Kit (in this project we used the Standard kit)
- Contractor’s adhesive
- Paintable caulking
- Finishing nails
Getting started
- The door trim comes prefinished and ready to use. If you choose to paint the trim, apply the first coat of paint before installation.
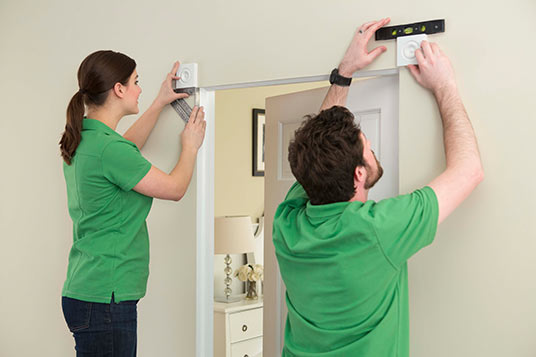
- Start at the corners. Use finishing nails or contractor’s adhesive to install the corner blocks, ensuring that they are square with the door opening.
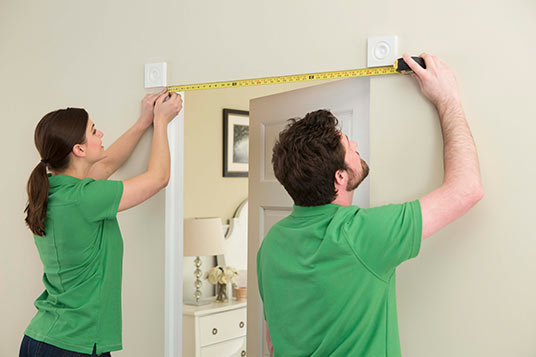
Measure
- Measure and cut the short piece of Fluted Casing to fit firmly between the corner blocks across the top.
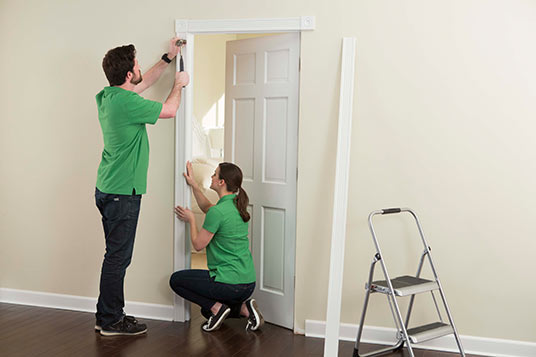
- Measure and cut the vertical pieces of Fluted Casing. If you have existing baseboard moulding, you’ll need to trim off a section to allow the Fluted Casing to go all the way down to the floor.
Installation
- Install the Casing with finishing nails.
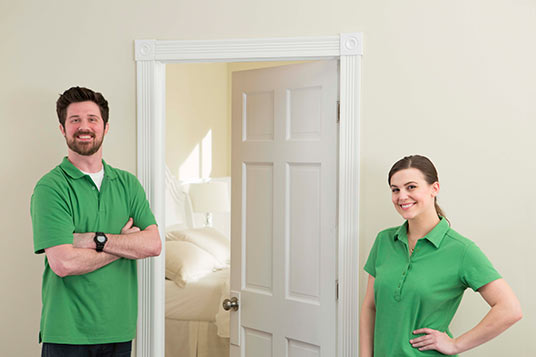
Finishing
- Apply white latex painter’s caulk in all joints and you’re done.