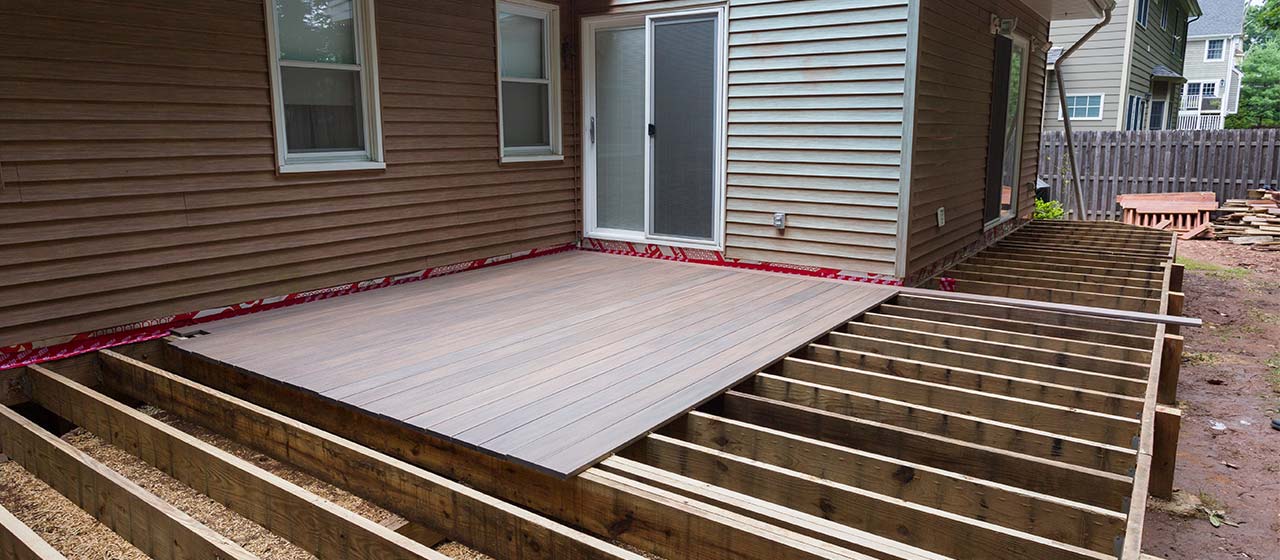
Warping, cracking, splitting, and serious fading issues are unavoidable in traditional wood decks. But if the foundation and framing system are still solid, resurfacing with Inteplast Deck or Décor Deck is an easier and more cost-effective alternative.
Check out our illustrated step-by-step resurfacing instructions to see if this method is right for you.
STEP 1
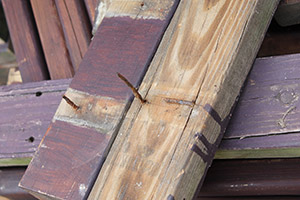
Remove all decking materials to be replaced, leaving the useable substructure in place.
STEP 2
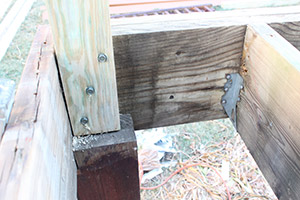
Check the joints to make sure the integrity of the structure is solid, and compliant with the installation guides.
STEP 3
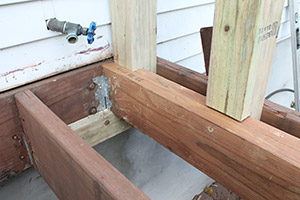
Check the deck-to-house connection for any loose or rusted screws or bolts. Tighten and replace fasteners where needed.
STEP 4
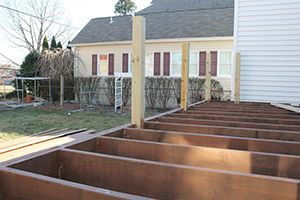
Shimming or sanding may be needed to ensure all the joist are level and even.
STEP 5
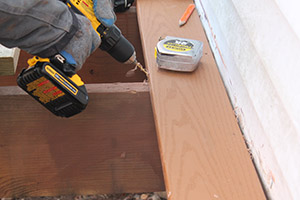
Fasten the first deck board with face screws.
STEP 6
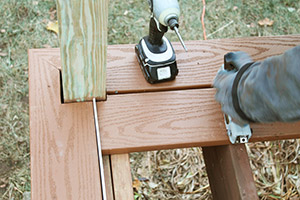
Some cutting may be needed at the corners, railing posts, and butted joints.
STEP 7
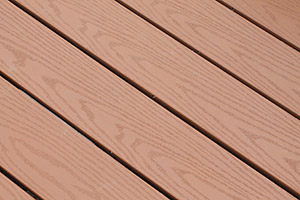
Make sure the deck boards are spaced evenly and oriented in the same direction.
STEP 8
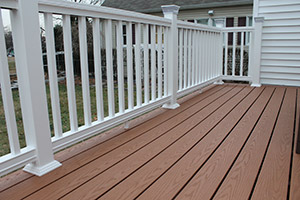
Voila! You are ready to enjoy your new low-maintenance, splinter-free outdoor living space.
Not all building or remodeling projects are suited for DIYers. There are building codes, permits, and important installation instructions that must be met. If you’re unsure of the proper guidelines to follow, we recommend contacting a licensed, certified professional in your area before you proceed.